How To
- Reference the FAQs below for quick answers.
- See the PDF link at the bottom of the page for more detailed explanations.
When to Plant?
Kurapia® may be planted year round, but optimal fill in will occur during the growing season, from March through September. Planting from April (after frost) through June (before the heat of summer) may be considered optimal when possible, but Kurapia® in fact may be planted year round. Best results will come from planting during the growing season, from March through September, though when necessary, Kurapia® may be planted on into late fall and winter. At this time, growth will slow down, and the plantings should be mulched to reduce the incidence of weeds. Kurapia is adapted to USDA climate zones of 7b and higher. In regions where average daily temperatures remain above 45 °F, Kurapia will stay evergreen through winter; however, growth will gradually decrease and enter semi-dormancy when average daily temperatures fall to around 38 °F. Kurapia has been known to survive temperatures as low as 20 °F. These temperatures are provided as estimates, as Kurapia greenness, dormancy, and survival will depend upon specific location and environmental factors.

Time Required to Establish?
Planted on 15” centers between during the growing season, Kurapia will fill in within 3 to 4 months given proper attention to soil preparation, irrigation and fertilization. Fill in time during these months can be sped up by planting plugs on tighter spacing. Late fall, winter and early spring plantings will require a bit more growing time. A minimum of 3 to 4 hours of direct sunlight is required to perform well.

Determining How Many Plugs
We provide Kurapia® plugs in a 72 count tray. Plugs are 1½” wide by 2” deep. We generally recommend spacing the plugs on 15” centers; closer spacing will result in faster fill in, and for slopes we recommend planting on 15” centers or less to minimize soil erosion during establishment. Planting on greater than 15” centers is not recommended, delaying fill-in time and allowing for weed pressure in bare areas.
To calculate the number of plugs required for a designated area, take the planting area in square feet and multiply in times the conversion factor of 0.64 (for spacing 15” on center), then divide by 72 (the number of plugs in a tray). For example, for 675 sf, multiply that area x .64: 675 sf x .64 = 432 plugs / 72 = 6 trays.
For efficiency purposes, we do not split plug trays, so if your area of coverage falls between full tray counts, you may choose to round up or down, either closing in the spacing or stretching it out. For example, if your planting area is 525 sf, 525 x .64 = 336 plugs, or 4.66 plug trays. In this case we would recommend rounding up to five trays; the extra plugs may be planted closer together in areas where faster coverage may be desired; for example, sloping areas or a section that may be either in poorer quality soil or in more shade.

Site Preparation
While Kurapia® will tolerate a range of soil types, it will establish faster in sandy or sandy loam soils. For heavy clay or compacted, hardpan soils, loosening the top 4” of soil and adding organic matter will help insure adequate aeration and drainage. Taking a bit extra time for preparation is worth it, and will enhance fill-in time!
Prior to planting, all weeds should be removed by hand or killed with a non-selective herbicide. RoundUp (glyphosphate) is one such chemical; consult with your local garden center and follow label instructions. For planting sites that have been neglected and may also have a large population of weed seeds in the soil, use of a pre-emergent herbicide can help reduce weed seedlings that will come naturally when such areas receive irrigation, but pre-emergent herbicides need be applied a good 4 months before Kurapia plug planting so as not to inhibit plug establishment.
If Kurapia® is being used as a lawn replacement and invasive grasses such as Bermuda or Kikuyu are present, but sure to consult with your local garden center or a good internet reference as to how to properly get rid of these invasive grasses, which can spread below ground, above ground, and by seed. Don’t know if you have Bermuda or Kikuyu? Again, you may consult with your local garden center or a good online reference.
Receiving Plugs
Immediately open boxes upon arrival. Place plugs in an open area in half-day sun, preferably protected from wind. Avoid delaying plug planting by more than one week. Plug trays will need to be kept adequately watered during any holding period; this may be once or more a day in very hot weather if plugs are not in a shady area.
Planting
Make sure that plugs are well-watered before planting, either by hand watering well or by a brief soaking of the plug trays in a sink or large container.
Dig a hole that is twice the diameter of the plug, and about twice as deep. THIS IS VERY IMPORTANT; plug soil not surrounded by landscape soil will dry out quickly, reducing chances of survival. Equally important, be sure to place the plug in the bottom of the hole: leaving an air pocket below plugs (no soil contact at base) can lead to plugs drying out severely.
Place plug in hole and lightly pack loose soil around the plug, exposing 90% of the foliage above soil level (see drawing below). Make sure that the whole plug is below soil level to avoid desiccation. It is fine to step lightly on the newly planted plug, to insure good soil contact. We do not recommend mulching at time of plug planting, which can slow down the Kurapia runner growth that spreads between the plugs and fills in these spaces. If mulching is necessary at planting to maintain surface soil moisture during hot summers, see details further below in MULCHING section.
NOTE: Rabbits will find the new Kurapia® plugs just as tasty as a number of other garden plants, and may chew the exposed leaves down to a nub. If it is not practical to provide temporary fencing around the planting area (or perhaps a dog!), See mulch recommendations below.

Irrigation
(a) First 4 Weeks
Water Kurapia® plugs lightly and frequently to keep them moist, without washing away the soil around the plugs. In the first 3 to 4 weeks, the Kurapia® plugs will only benefit from the water that hits them directly overhead. Shortly thereafter, the plug roots will have entered into the garden soil and will be able to draw moisture from it. If uncertain that plugs are getting ample moisture, dig down alongside some of them to determine whether they are being thoroughly wetted.
If using drip irrigation, it is generally a good idea to hand water the plugs in well for the first irrigation; for subsequent irrigations with drip lines, make certain that water is moving high enough in the soil to wet the entire plugs. Provide supplemental overhead water if needed in these first weeks.
As with many drought tolerant plants, Kurapia® has a very low water requirement once established. Do not let plugs go unnecessarily dry during this key period.
(b) Subsequent 2-3 Months
About 4 weeks from planting, the irrigation regime should be switched from small amounts of water daily to a more thorough, deeper watering once or twice a week. Additional irrigation may become necessary in very hot or windy conditions: if uncertain about soil moisture levels, there is no substitute for getting out there and digging down into your soil for a look.
(c) Long Term Irrigation Strategy
Once fully established, Kurapia® roots may go as far as 5 to 10 feet below the soil surface, when properly irrigated. Deep irrigation will encourage deep rooting and decrease watering sessions. There is no one irrigation recommendation for Kurapia®; water needs will vary by local climate, soil type, time of year, and both type of irrigation system and irrigation methods. In general, an established Kurapia planting will require a minimum of one irrigation a week to hold green color; two irrigations a week may be necessary to hold same green color in excessively hot weather.
NOTE: Kurapia®, along with any other plants in the landscape will often look as good (or as bad) as the irrigation system that is used to deliver water to it. You have invested in a very low water plant, but should not needlessly waste water with an automatic irrigation system that needs to run longer due to poor design, poor water distribution, clogged nozzles, or leaks!
Fertilization
Unless the planting area has been amended with a pre-plant fertilizer, it is important to provide fertilization once new shoot growth is evident, within about 3-4 weeks from planting. Feeding at this time will expedite growth and coverage. Apply a complete N-P-K fertilizer at a rate of ½ lb. of N per 1,000 sf, ever two weeks until full cover is achieved.
If practical early on, applying fertilizer to the plug areas only will save on fertilizer, minimize nutrient run off, and prevent fertilization of any weeds that may occur between plugs in this early stage. Alternatively, a liquid feed such as Miracle Gro or a host of similar products can be applied once every 7-14 days as directed by the label.
Once the Kurapia® planting is fully established, fertilization needs are greatly reduced, and typically will be required only once a year in spring (for growth and flowering) at a rate of ½ lb. of N per 1000 sf. If desired, a one-time fall fertilization can also be applied to help retain foliage color in cooler areas.
Pests & Diseases
There are no known diseases or pests that will affect Kurapia® in the relatively hot and dry California climate. Excessive over-irrigation or standing water may set the plants back some. Excessively dry plantings, or those receiving no fertilization will be lighter in foliage color.
Trimming
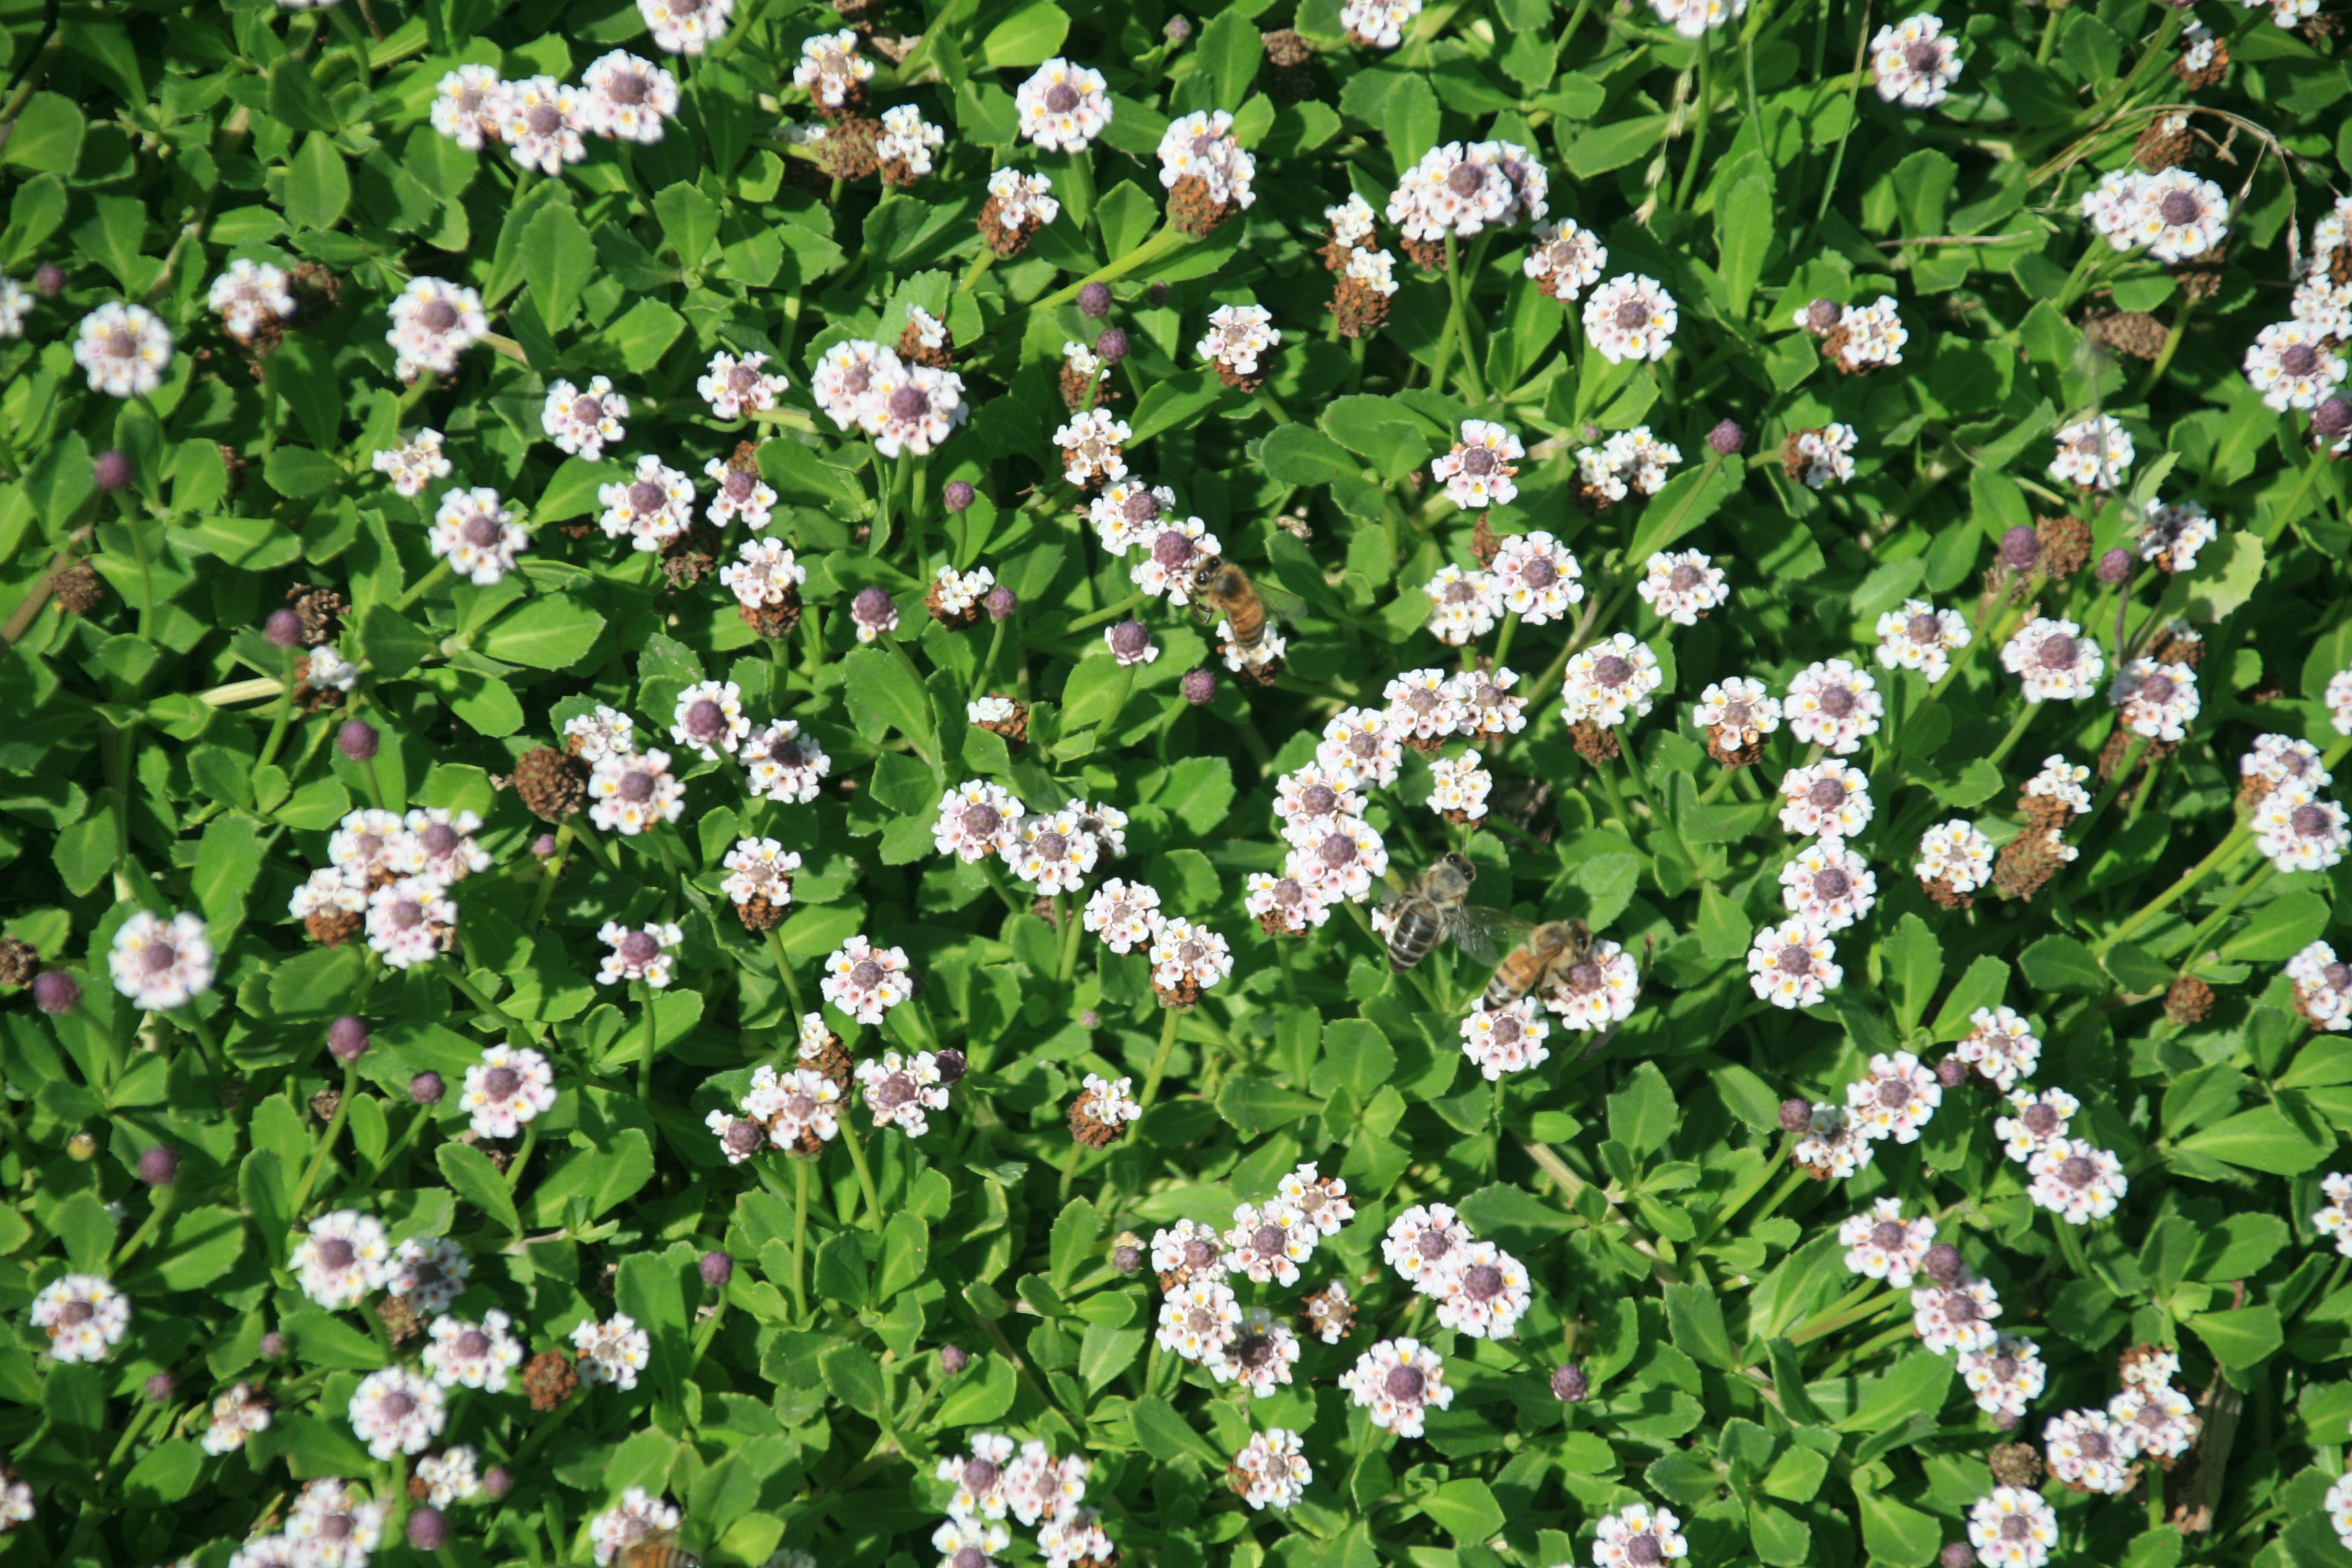
Kurapia® is naturally low growing, and does not require trimming if a natural groundcover look is desired.
An early trim during the establishment period will encourage more runners, for faster fill in. Do NOT remove more than 1/3rd of top growth.
Trimming one to two times a month to a height of 2-3 inches during the growing season will result in a turf-like appearance, and will minimize flower production, if desired. ONLY remove 1/3rd of top growth.
Trimming during winter or early spring will serve to remove dormant leaves and expose underlying green growth to sunlight (good!); disposal of clippings is only necessary when excessive debris is left.
Kurapia® has a natural and vigorous spreading habit. This lateral spread is easily controlled with occasional trimming.
Mulching
A weed free, aged fine mulch (such as Lawn Topper) may be used for Kurapia® plantings that take place in summer, for water conservation and to help provide surface moisture. Apply no more than 1/4” layer of mulch as follows:
When mulching, Kurapia® plugs should be planted EVEN with soil level (not slightly deep, as described above for planting without mulching).
- Water in the plugs, and the surrounding bare ground, evenly.
- Apply no more than 1/4” of a fine, weed-free mulch (such as Lawn Topper) between the plugs.
- Water in the mulch evenly.
NOTE: Coarse bark mulches should be avoided, since they can slow down Kurapia establishment significantly.
Weed Control
For planting areas that have been well-managed, weed control may be done by hand removal or with a hoe or cultivator. Planting area should be walked once a week during Kurapia® establishment (it is okay to walk lightly on the plugs at this stage!), taking care to remove weeds when small and not allow them to go to flower, which is quickly followed by seed, creating more weeds several weeks later.
Chemical control is another option. Kurapia® is relatively new, and does not yet appear on herbicide labels. The parent species, Lippia nodiflora (syn. Phyla nodiflora) is a relatively minor plant, and also may not appear on herbicide labels. We are working on herbicide recommendations for the future. Once established (filled in), Kurapia® does a very good job of suppressing weeds…one less garden task for these areas!